Recently, Cloudflare collaborated with Shopify to help users to enjoy Cloudflare's excellent performance and security features. With this, Shopify users are no more required to proxy traffic on Cloudflare.
Note: To connect a domain to Shopify, you would need to have the 'A record' and the 'CNAME record' provided by Shopify.
Let's check the following steps:
Step 1: Log in to Your "Cloudflare" Account
First of all, add your credentials and log in to your Cloudflare account:
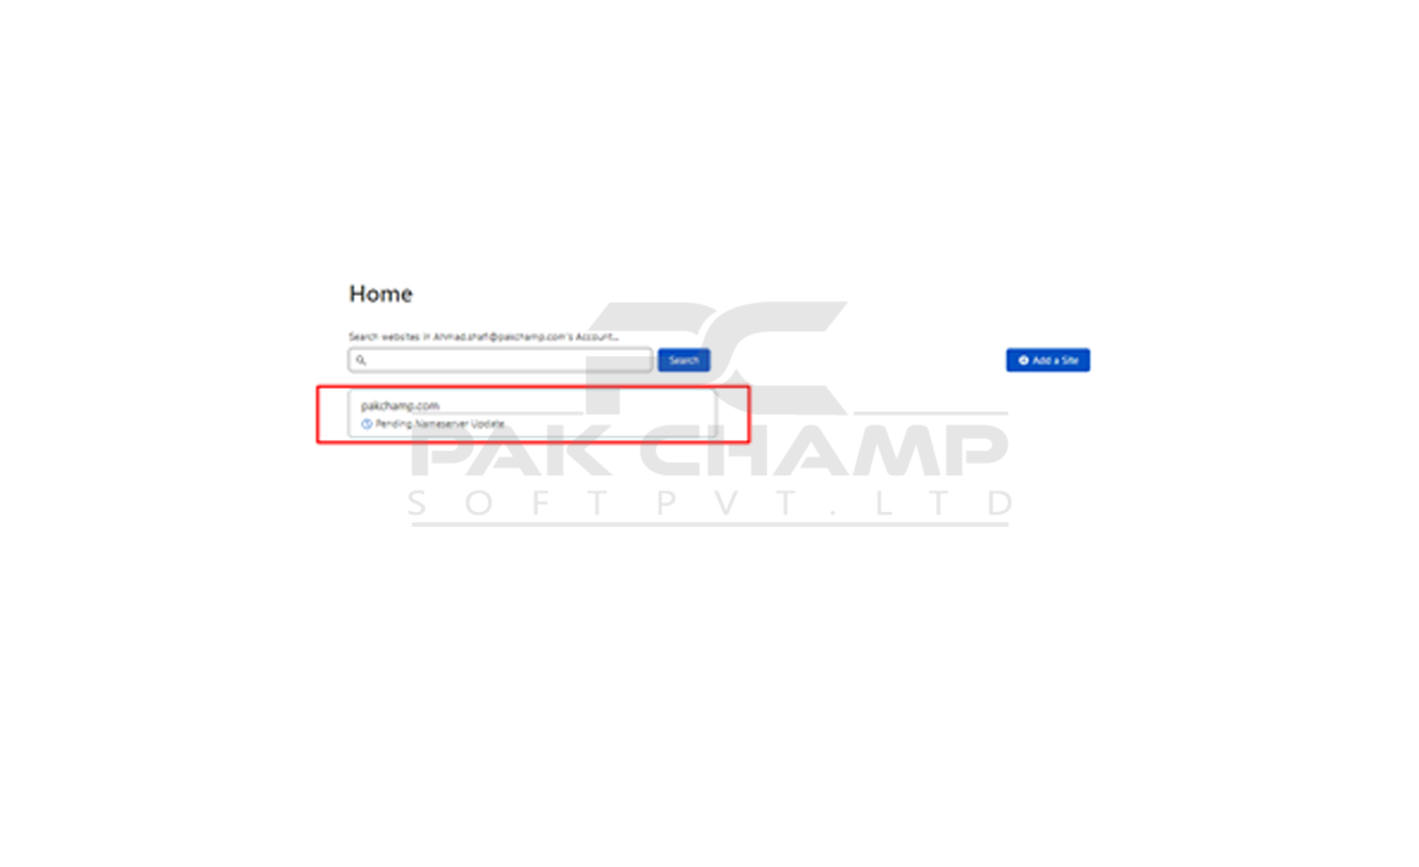
Step 2: Click on the Desired domain you want to connect with Shopify
Now, click the Active button located near your domain name.
Step 3: Click on the DNS dropdown and choose the record option under DNS
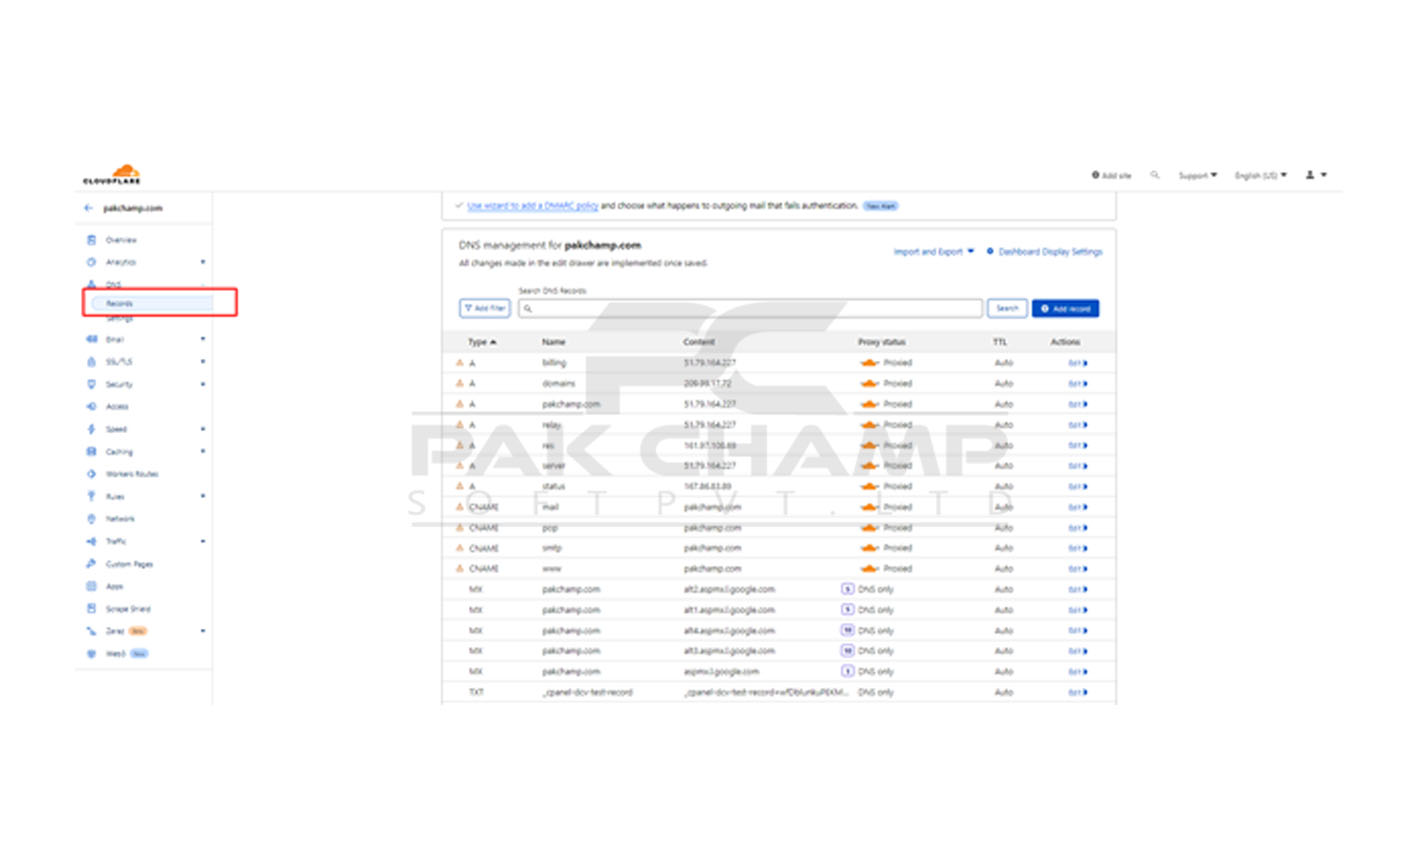
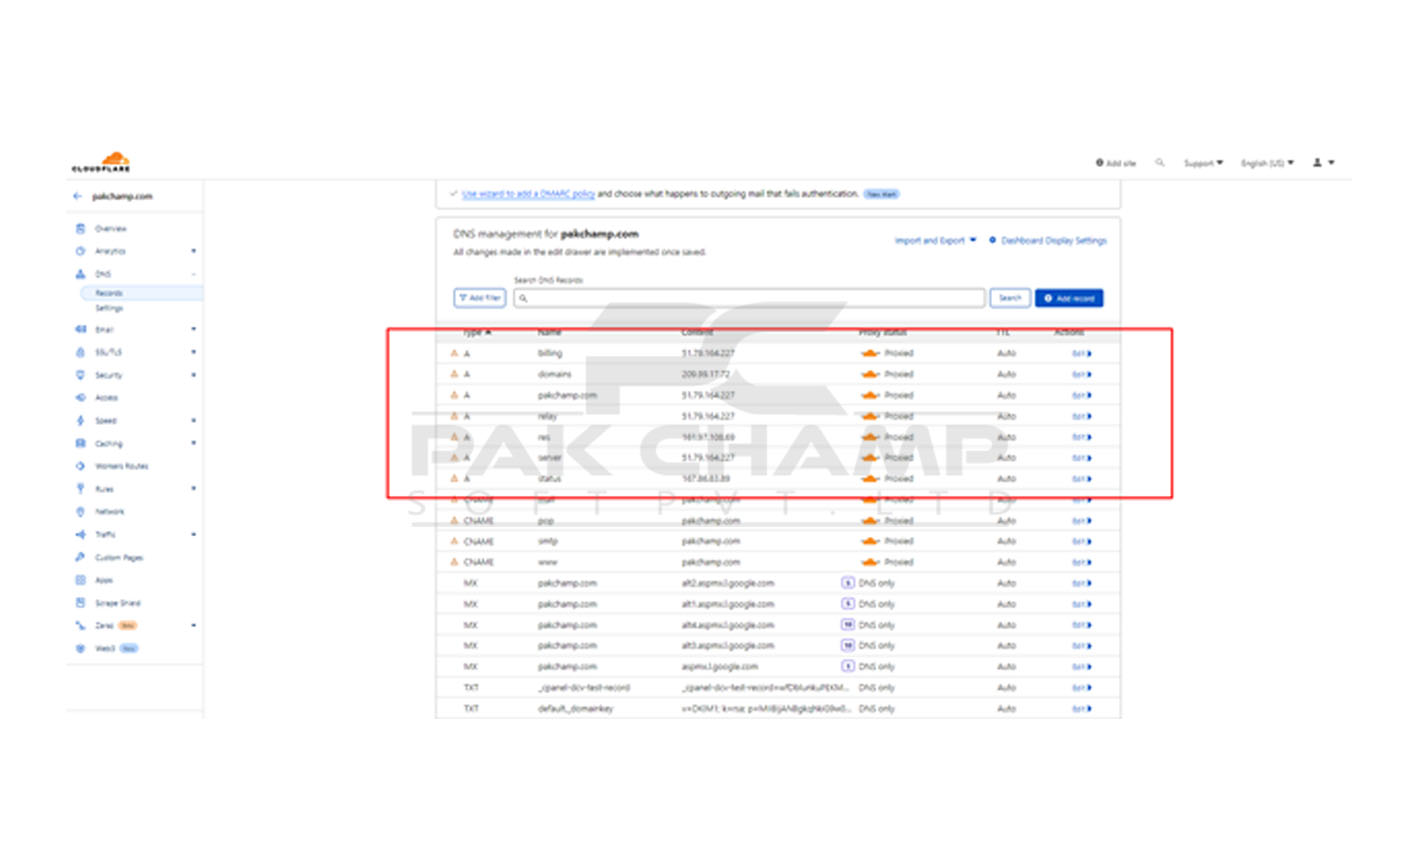
Step 4: Add "A-Record"
After this, you need to insert two types of records:
- A-record
- And, CNAME record
First, click on DNS on top of the toolbar to continue adding records. , click on Add record, and select type "A" to insert A-record. Add your domain name and IP address (provided by Shopify) under the Name and IPv4 address bars, respectively.
Once you're done, save the records to continue.
Step 5: Insert "CNAME Record"
After adding A-Record, you need to insert a CNAME record. Now again, click on Add records and choose CNAME from types. Insert your Domain Name and Target (shops.myshopify.com) in the respected bars as shown in the image below:
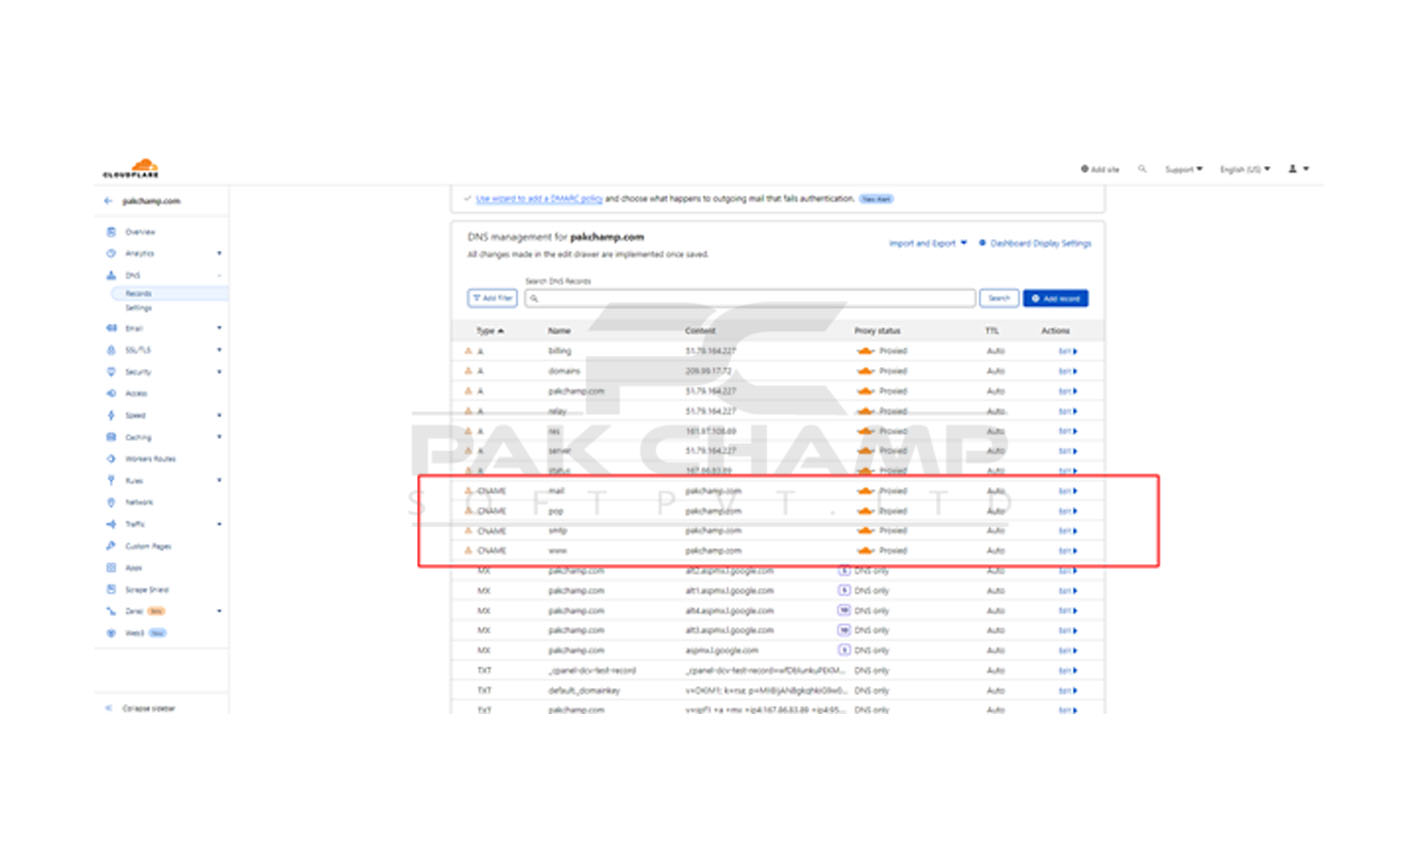
Now, click on the Save option to finish the entire process.
That's it!
Hope this article helped you a lot. If you have any queries, contact our technical support team at https://billing.pakchamp.com/submitticket.php?step=2&deptid=4 to resolve your questions right on the spot.
How to redirect a domain to another domain without a hosting plan?
If you don't have a hosting plan and would like to redirect your domain to another, it can be easily done using Cloudflare.
Step 1 - Set up Cloudflare
First, create a free Cloudflare account and add the domain which you would like to create a redirection from.
If your domain is registered with Pakchamp, all you will need to do is change your nameservers to Cloudflare ones. If your domain is purchased on a different provider and pointing elsewhere, you will need to update nameservers from their side. Keep in mind that the DNS zone can take up to 24 hours to propagate, so wait patiently for the procedure's completion!
Step 2: Set up a redirect
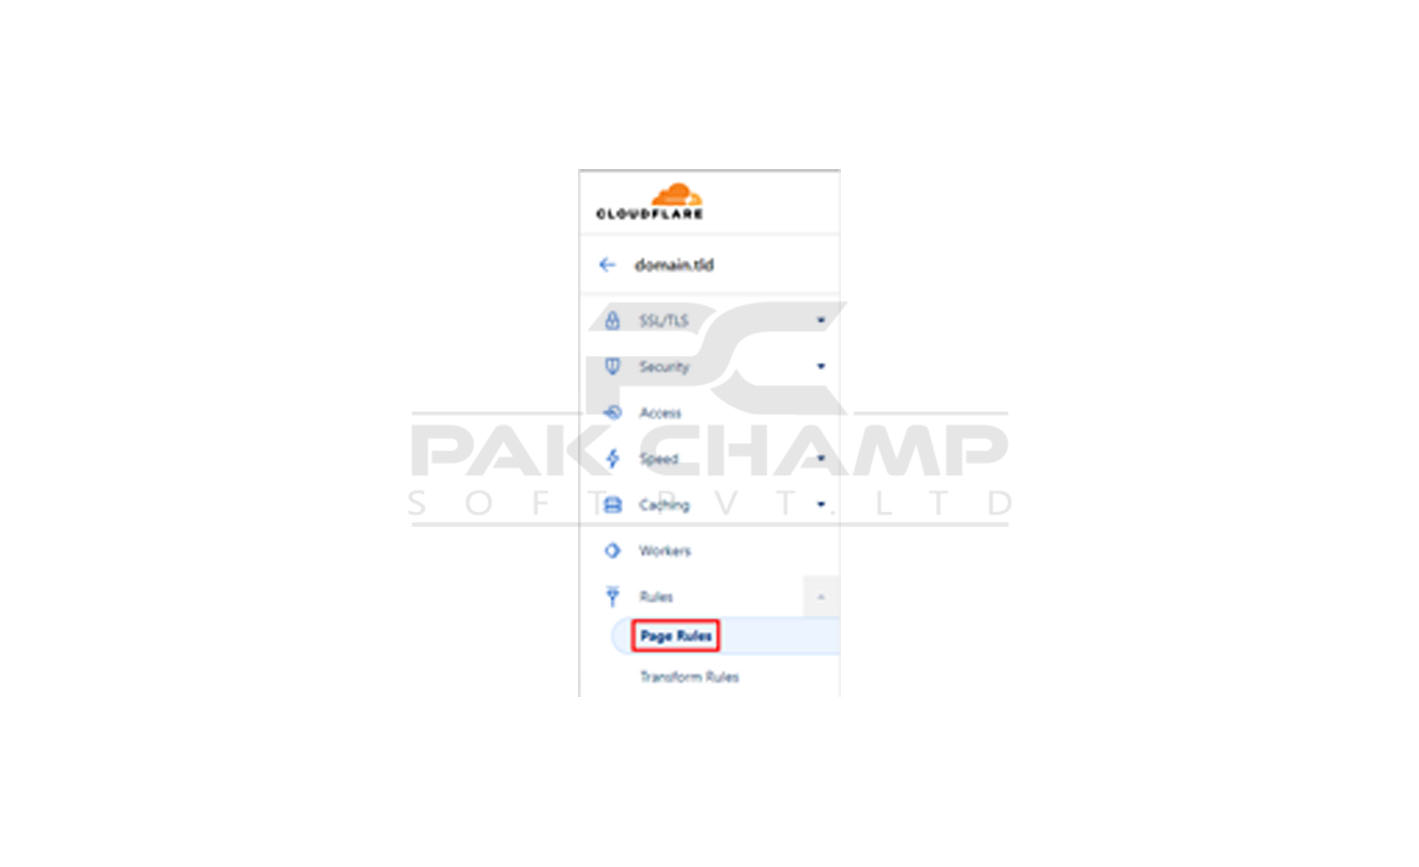
Once your domain is fully propagated, you can set up a redirect in your Cloudflare account. Scroll down on the left sidebar and open the Page Rules tab under the Rules section:
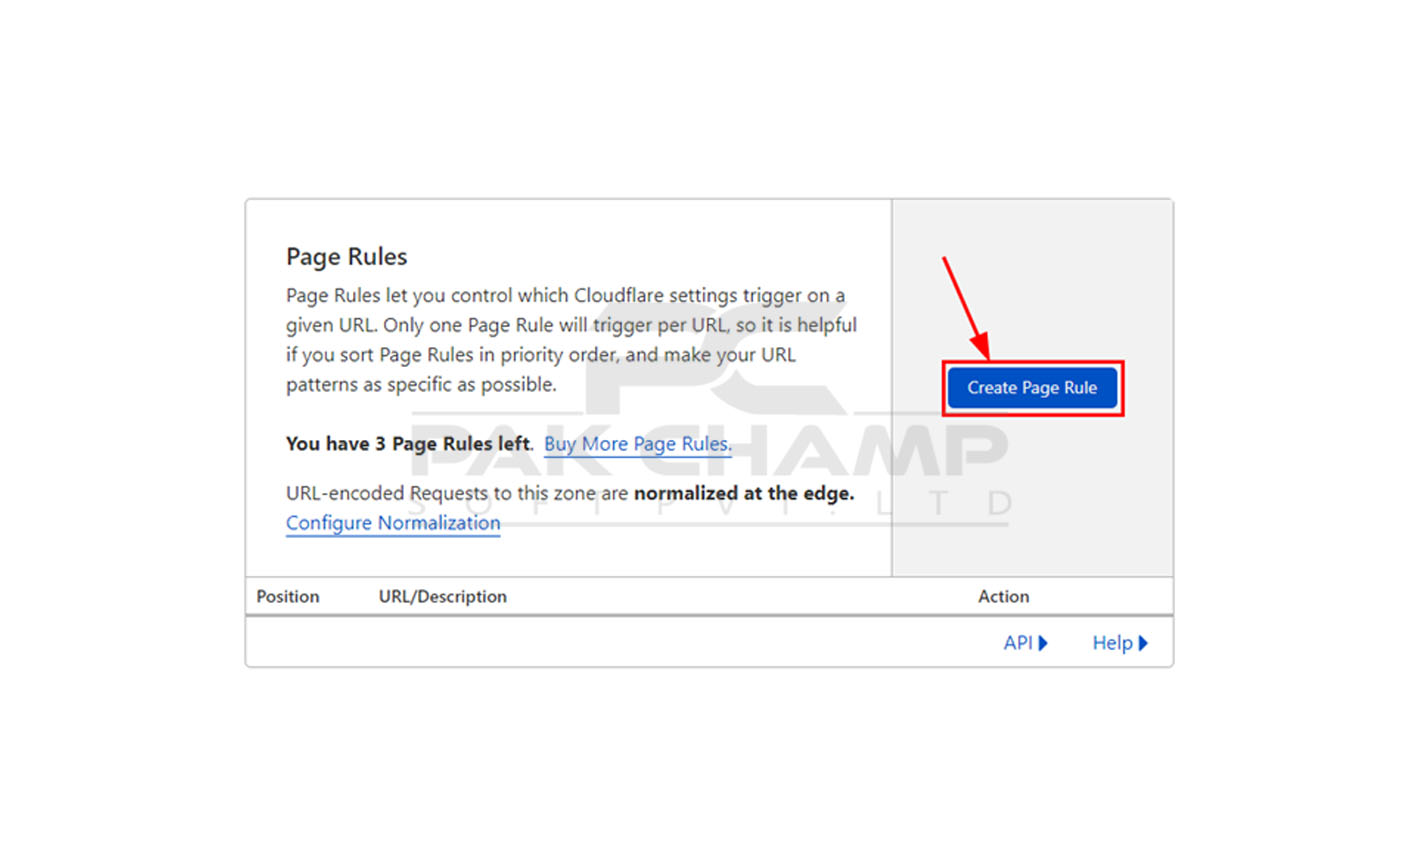
And click on Create Page Rule:
Enter the required information:
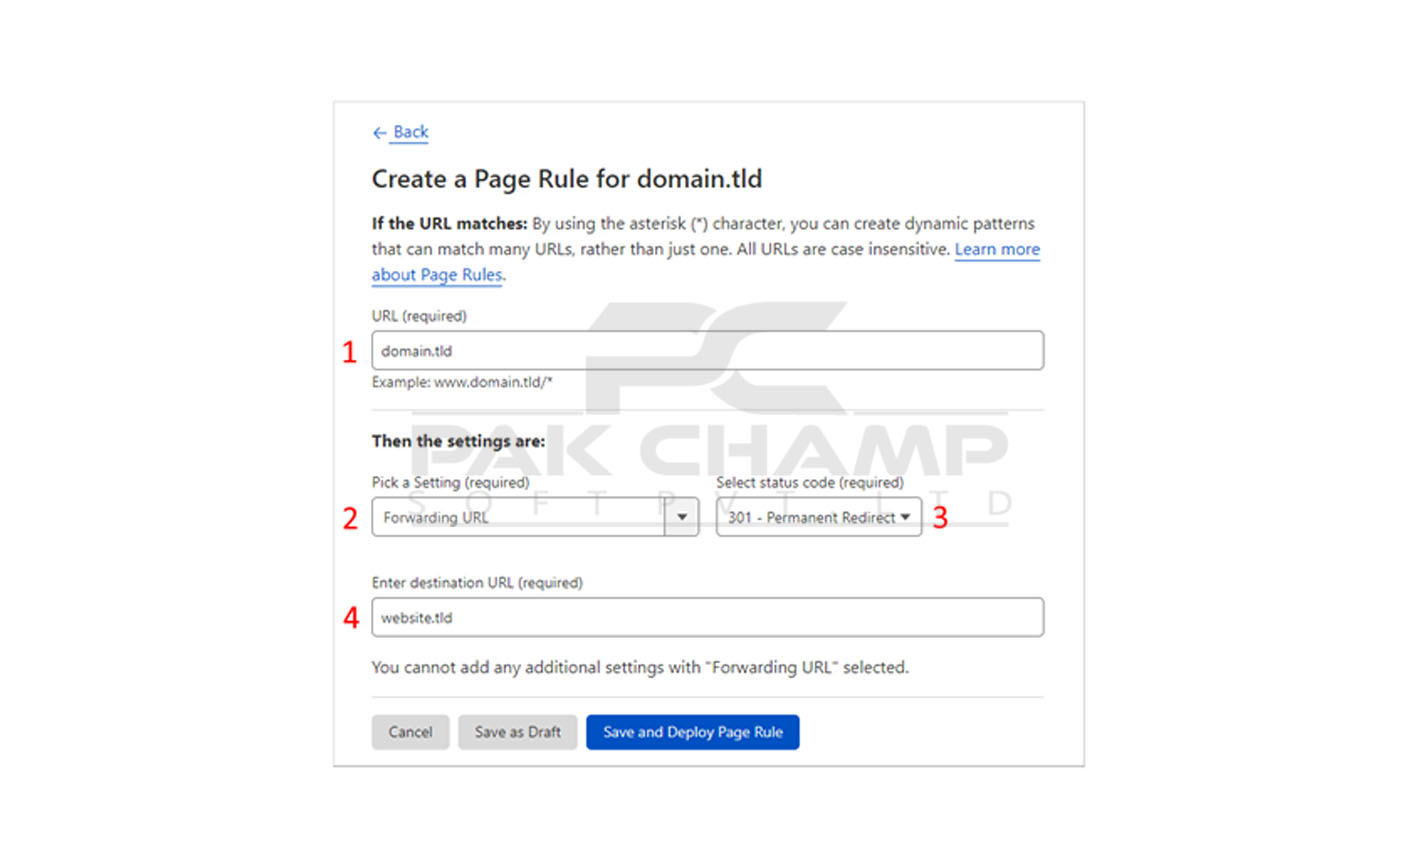
- The domain name or specific address which you wish to be redirecting
- Select the setting: Forwarding URL
- Set a status code: 301 for a permanent Redirect or 302 for temporary redirects
- Destination URL: the address to which the redirection will lead
To finish, click Save and deploy Page Rule.
Enter the required information:
- The domain name or specific address which you wish to be redirecting
- Select the setting: Forwarding URL
- Set a status code: 301 for a permanent Redirect or 302 for temporary redirects
- Destination URL: the address to which the redirection will lead
To finish, click Save and deploy Page Rule.
That's it! Now you know how to set up a redirect domain to another domain without a hosting plan.
Need any help? Contact our HelpDesk

